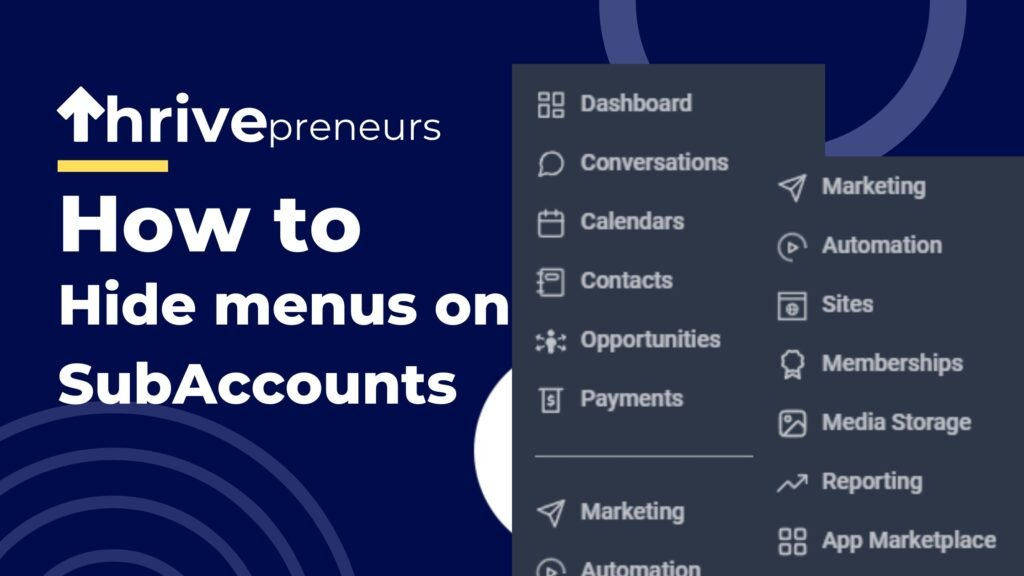
Hey there! Welcome to my GoHighLevel tutorial. Today, I’m excited to share a handy tip on how to hide specific menus in your subaccounts using just a bit of CSS. If you’ve ever wanted to clean up the interface or restrict access to certain features, this is the perfect solution.
Disabling Features at the User Level:
Now, it’s worth mentioning that you can also hide certain features by disabling them at the user level. To do this, head over to your Agency Dashboard, and under Settings >> Settings >> Teams, select the user and disable the features you want them not to see. However, keep in mind that this method works on a per-user basis and doesn’t always remove the menu entirely.
Using CSS to Hide Menus for All Users:
That’s where the CSS method comes in handy! If you want to apply these changes across all users and subaccounts, using CSS is a great way to do it. I’ve put together a helpful table that lists all the menu names along with their corresponding CSS IDs. You can use these IDs to target and hide any menu with a simple display: none; command.
Below, you’ll find the CSS IDs you can use to customize your setup exactly how you want it.
GoHighLevel Menu CSS IDs
Menu Name | CSS ID (use to hide the menu via css) |
| Dashboard | #sb_dashboard |
| Conversations | #sb_conversations |
| Calendars | #sb_calendars |
| Contacts | #sb_contacts |
| Opportunities | #sb_opportunities |
| Payments | #sb_payments |
| Horizontal Divider | #sb_divider-1 |
| Marketing | #sb_email-marketing |
| Automation | #sb_automation |
| Sites | #sb_sites |
| Memberships | #sb_memberships |
| Media Storage | #sb_app-media |
| Reputation | #sb_reputation |
| App Marketplace | #sb_app-marketplace |
| Business Profile | #sb_business_info |
| Company Billing | #sb_saas-billing |
| My Staff | #sb_my-staff |
| Opportunities & Pipelines | #sb_Opportunities-Pipelines |
| Business Services Line Break | #sb_business-services |
| Calendars | #sb_calendars |
| Conversation AI | #sb_conversation_ai_settings |
| Email Services | #sb_location-email-services |
| Phone Numbers | #sb_phone-number |
| Reputation Management | #sb_reputation-management |
| Other Settings Line Break | #sb_other-settings |
| Custom Fields | #sb_custom-fields-settings |
| Custom Values | #sb_custom-values |
| Manage Scoring | #sb_manage-scoring |
| Domains | #sb_domains |
| URL Redirects | #sb_url-redirects |
| Integrations | #sb_integrations |
| Conversation Providers | #sb_conversations_providers |
| Tags | #sb_tags |
| Labs | #sb_labs |
| Audit Logs | #sb_audit-logs-location |
| Companies | #sb_business-settings-v2 |
Applying CSS to Hide Menus:
Now that you’ve got the CSS IDs you need, let’s talk about how to code it. For example, if you want to hide the Dashboard menu, you would use the following CSS:
cssCopy code#sb_dashboard {
    display: none;
}
If you want to hide multiple menus, simply separate the IDs with a comma. For instance:
cssCopy code#sb_dashboard, #sb_contacts, #sb_appointments {
    display: none;
}
It’s also a good idea to add CSS comments to remind yourself what each piece of code is for when you review it later. You can add comments in your CSS like this:
cssCopy code/* Hide Dashboard, Contacts, and Appointments menus */
#sb_dashboard, #sb_contacts, #sb_appointments {
    display: none;
}
Once you’ve written your CSS, you’ll need to apply it to your agency account. To do this, go to your Agency Dashboard >> Settings >> Company, and in the CUSTOM CSS box, paste your CSS code and click Save or UPDATE COMPANY.
After you update/save it, the changes will apply to all subaccounts, and the menus you’ve chosen to hide will no longer be visible for everyone.


