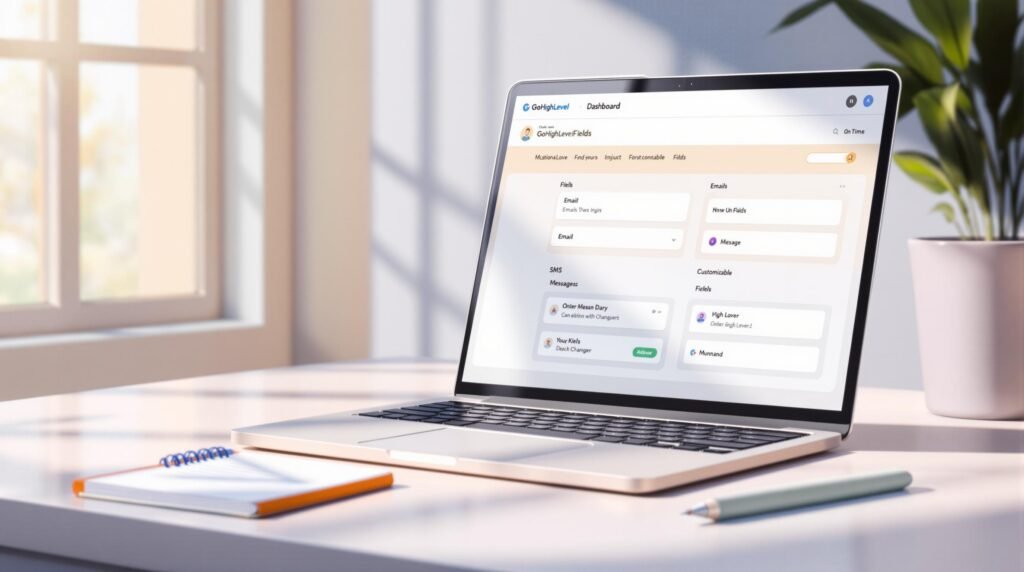
Custom values in GoHighLevel let you personalize emails, texts, and websites by dynamically inserting user-specific data like names or loyalty tiers. They’re great for making messages feel personal, saving time, and automating tasks. Here’s a quick guide:
- What They Do: Act as placeholders (e.g.,
{FirstName}) that pull data from your contact list. - Where to Use Them: Emails, SMS, websites, workflows, and funnels.
- How to Set Up: Go to Settings > Contact Settings > Custom Values, then add or edit values with types like text, number, or date.
- Tips for Success: Use a clear naming system, group values logically, and always test changes.
With custom values, you can create tailored messages, automate follow-ups, and even adjust website content dynamically. Ready to make your marketing more personal and efficient? Let’s dive in!
Setup Custom Values in GoHighlevel – Full Guide

Finding Custom Values in GoHighLevel
Here’s how to locate custom values quickly:
Menu Location and Setup
- Access Settings: Click the gear icon (⚙️) in the top-right corner of your GoHighLevel dashboard.
- Go to Contact Settings: From the left sidebar menu, choose “Contact Settings.”
- Open Custom Values: Inside Contact Settings, select the “Custom Values” tab to access the management interface.
You can now configure these values as needed in the next steps.
sbb-itb-1c6633a
Setting Up Custom Values
Adding New Custom Values
To add a new custom value, follow these steps:
- Click “+ Add Custom Value”: Navigate to the Custom Values tab and click the blue button in the top-right corner.
- Enter a descriptive name: Use alphanumeric characters, such as CustomerLoyaltyTier or LastPurchaseDate.
- Select a type:
- Text
- Number
- Date
- Boolean (Yes/No)
- Set a default value: Define a fallback value that will appear if no specific data is provided.
After creating your custom values, focus on keeping them well-organized for easier use.
Organizing Your Custom Values
Here’s how to keep your custom values structured:
- Follow a naming system:
- Start names with a category prefix like CRM_, Sales_, or Support_.
- Use camelCase for multi-word names to improve readability.
- Keep names short but clear.
- Group values logically:
- Examples of groupings include:
- Customer Information
- Transaction Data
- Campaign Metrics
- Support Details
- Examples of groupings include:
- Document everything:
- Maintain a shared reference document listing all custom values and their purposes. This ensures everyone on the team stays consistent.
A well-structured system not only saves time but also improves automation across your campaigns.
Making Changes to Custom Values
When updating existing custom values, follow these tips to avoid issues:
- Review current usage: Check all campaigns and automations that rely on the custom value before making changes.
- Choose low-activity periods: Make updates during times when fewer users are active to minimize disruptions.
- Test changes: Use a test contact to ensure the updated custom values function as expected.
| Action | Impact on Existing Data | Recommended Approach |
|---|---|---|
| Rename Value | No data loss | Update during off-hours |
| Change Type | Possible data format issues | Create a new value and migrate |
| Delete Value | Permanent data loss | Archive instead of deleting |
Custom Values in Action
Once you’ve set up and organized your custom values, it’s time to put them to work across different channels.
Email Personalization
Use custom values to make your emails feel more personal:
How to Insert Custom Values:
- Click the merge tag
{}icon in the email editor. - Choose a value from your custom values list.
- Preview the email to ensure the values appear correctly.
Example Template:
Dear {FirstName}, as a {CustomerLoyaltyTier} member since {CustomerSince}, enjoy {CustomDiscount}% off your next purchase.
Tips for Success:
- Always include fallback values for critical fields to avoid blank spaces.
- Test your emails with contacts who have varying custom values.
- Use conditional blocks to show or hide content based on specific custom values.
You can also apply custom values to SMS campaigns to achieve similar personalization.
SMS Message Customization
Since SMS messages are short, you’ll need to use compact formats for custom values:
Short Code Format:
{fn}for First Name{lt}for Loyalty Tier{pid}for Product ID
Example SMS Template:
Hi {fn}! Your {lt} status earned you {points} reward points. Check your balance at {shortlink}
Website and Funnel Integration
Custom values aren’t just for emails and texts – they can enhance your website and funnels too.
Website Integration:
- Add custom value snippets directly to your website’s HTML using GoHighLevel’s page builder.
- Create conditional content blocks that adapt based on visitor attributes.
- Use custom value calculations to display dynamic pricing.
- Set up form fields to capture and store custom values.
- Use conditional logic to route leads based on their responses.
- Show personalized offers tailored to the stored custom values.
These tools allow you to gather custom values through landing pages, segment your contacts effectively, and deliver follow-ups that feel tailored to each individual.
Summary
Key Benefits
Using custom values in GoHighLevel allows you to create personalized messaging across emails, SMS, and website content. Here’s how it helps:
- Simplifies Processes: Automate customized communications while keeping your brand voice consistent.
- Improves Customer Experience: Send content tailored to each customer’s specific attributes.
- Adapts Content Dynamically: Adjust web pages and funnels to match user preferences.
These features stem from the setup methods discussed earlier, making it easier to engage with customers effectively. Use these tools to boost your personalization efforts.
How to Get Started
Ready to start using custom values in GoHighLevel? Here’s a quick guide to help you begin:
- Try It Out: Sign up for GoHighLevel’s 30-day free trial to explore custom values and other features risk-free [1].
- Plan Ahead: Determine which customer data points are most important for your personalization goals.
- Take It Step by Step: Start small with basic custom values and expand as you grow more comfortable.
For more advanced tips, check out Thrivepreneurs‘ strategies for using custom values to enhance your campaigns [1].


